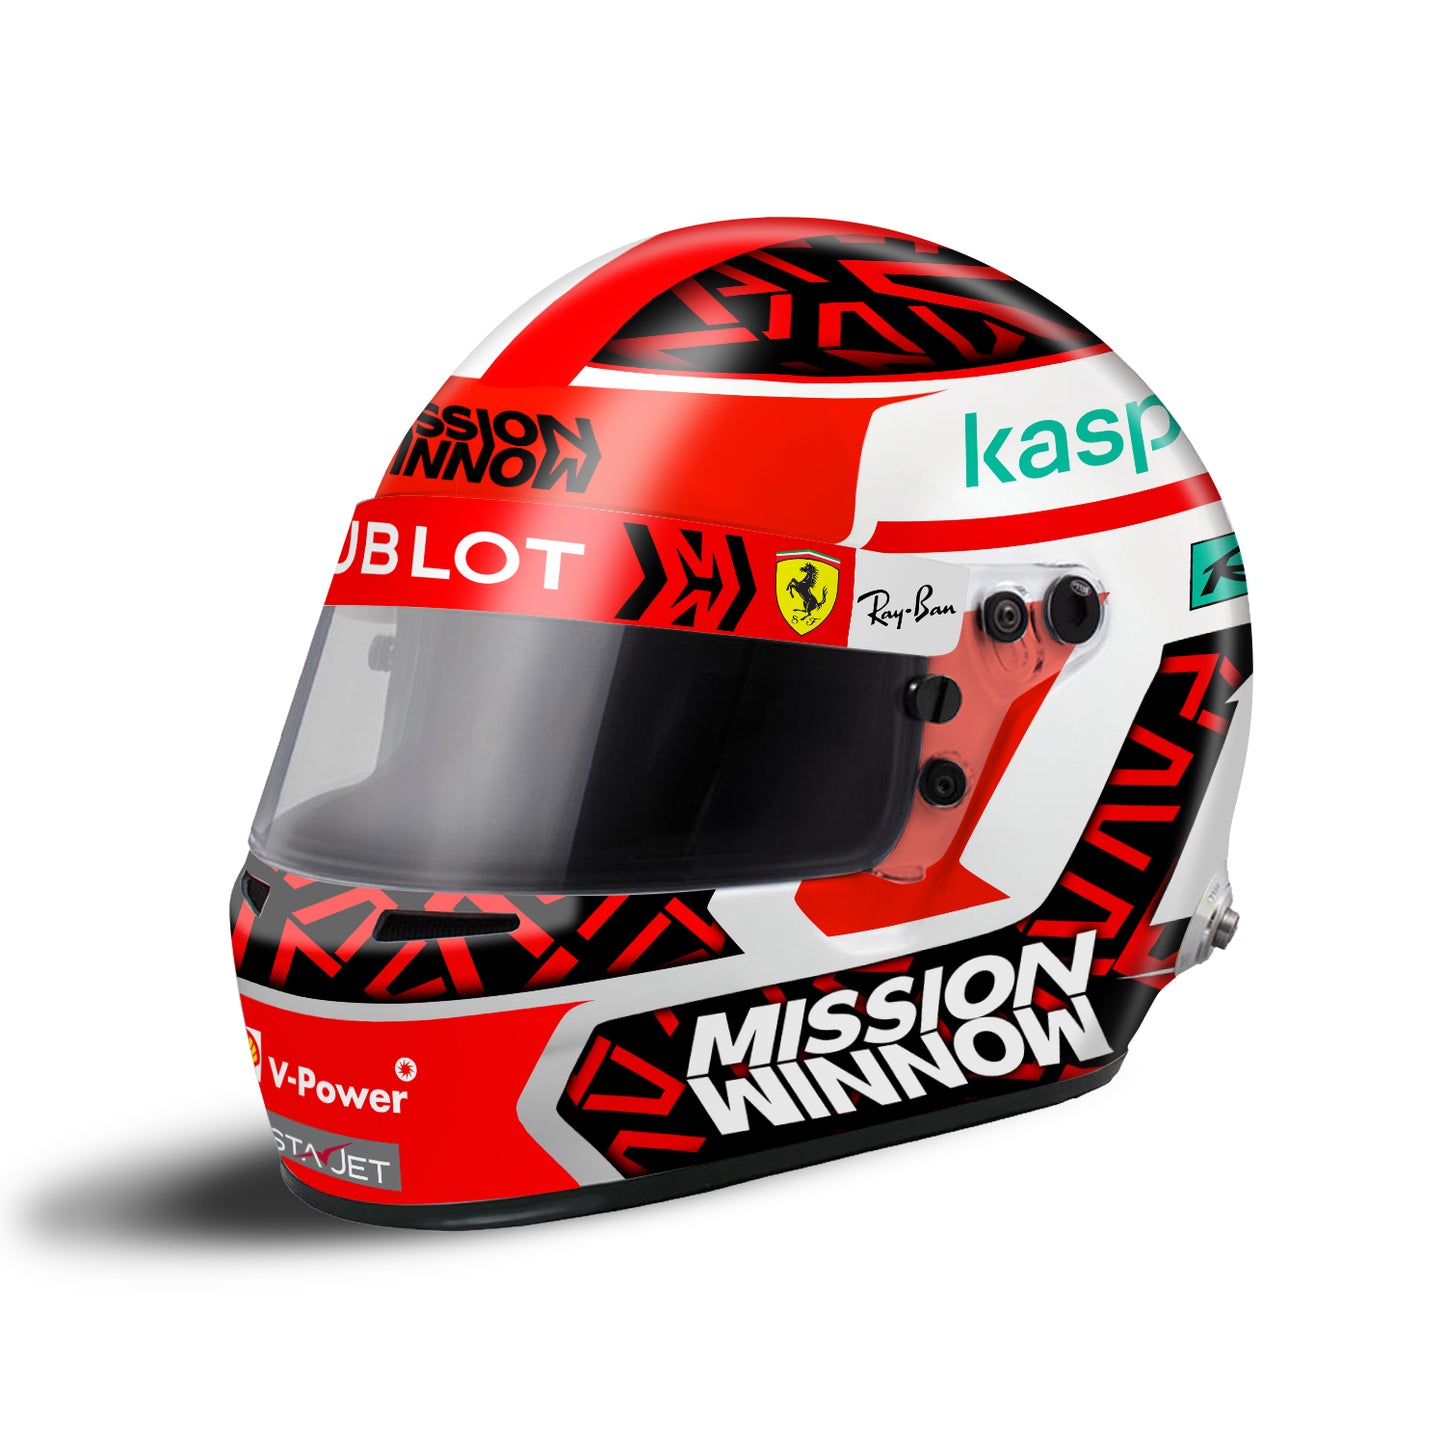
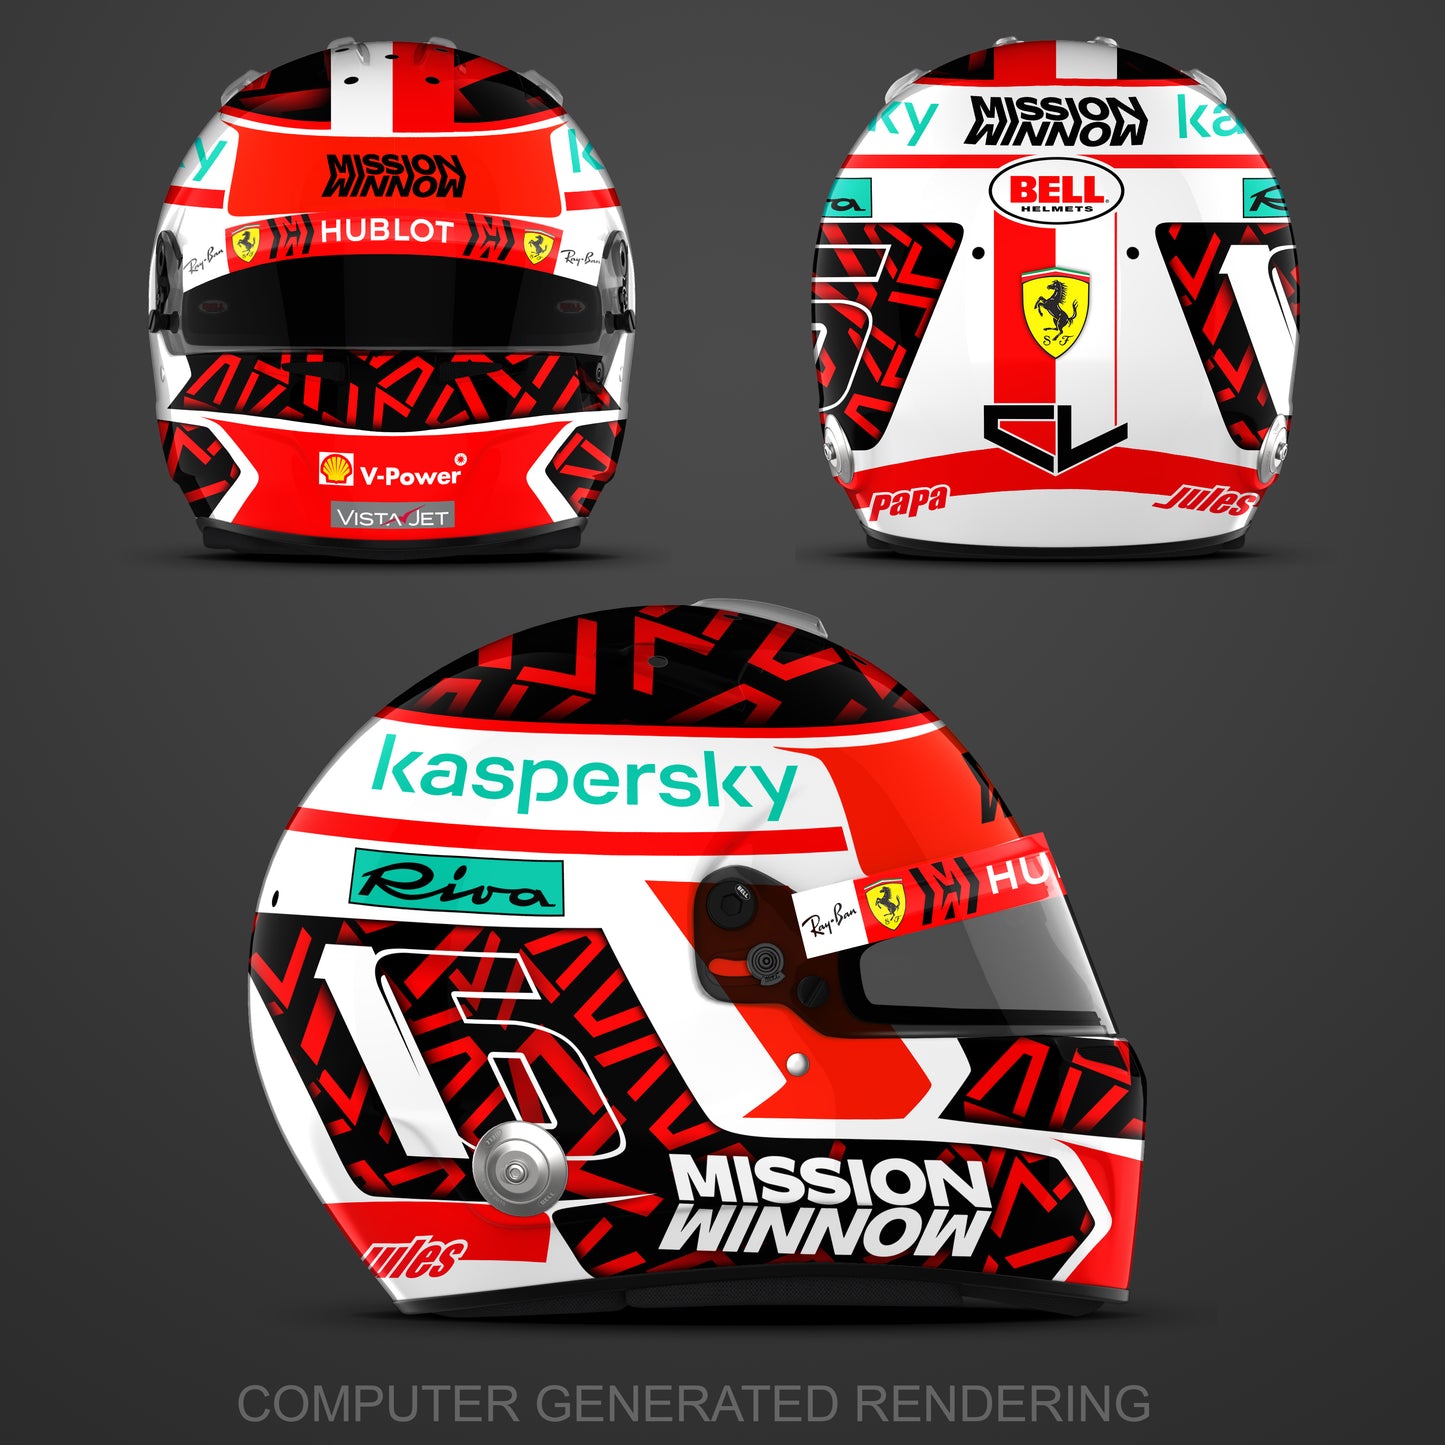
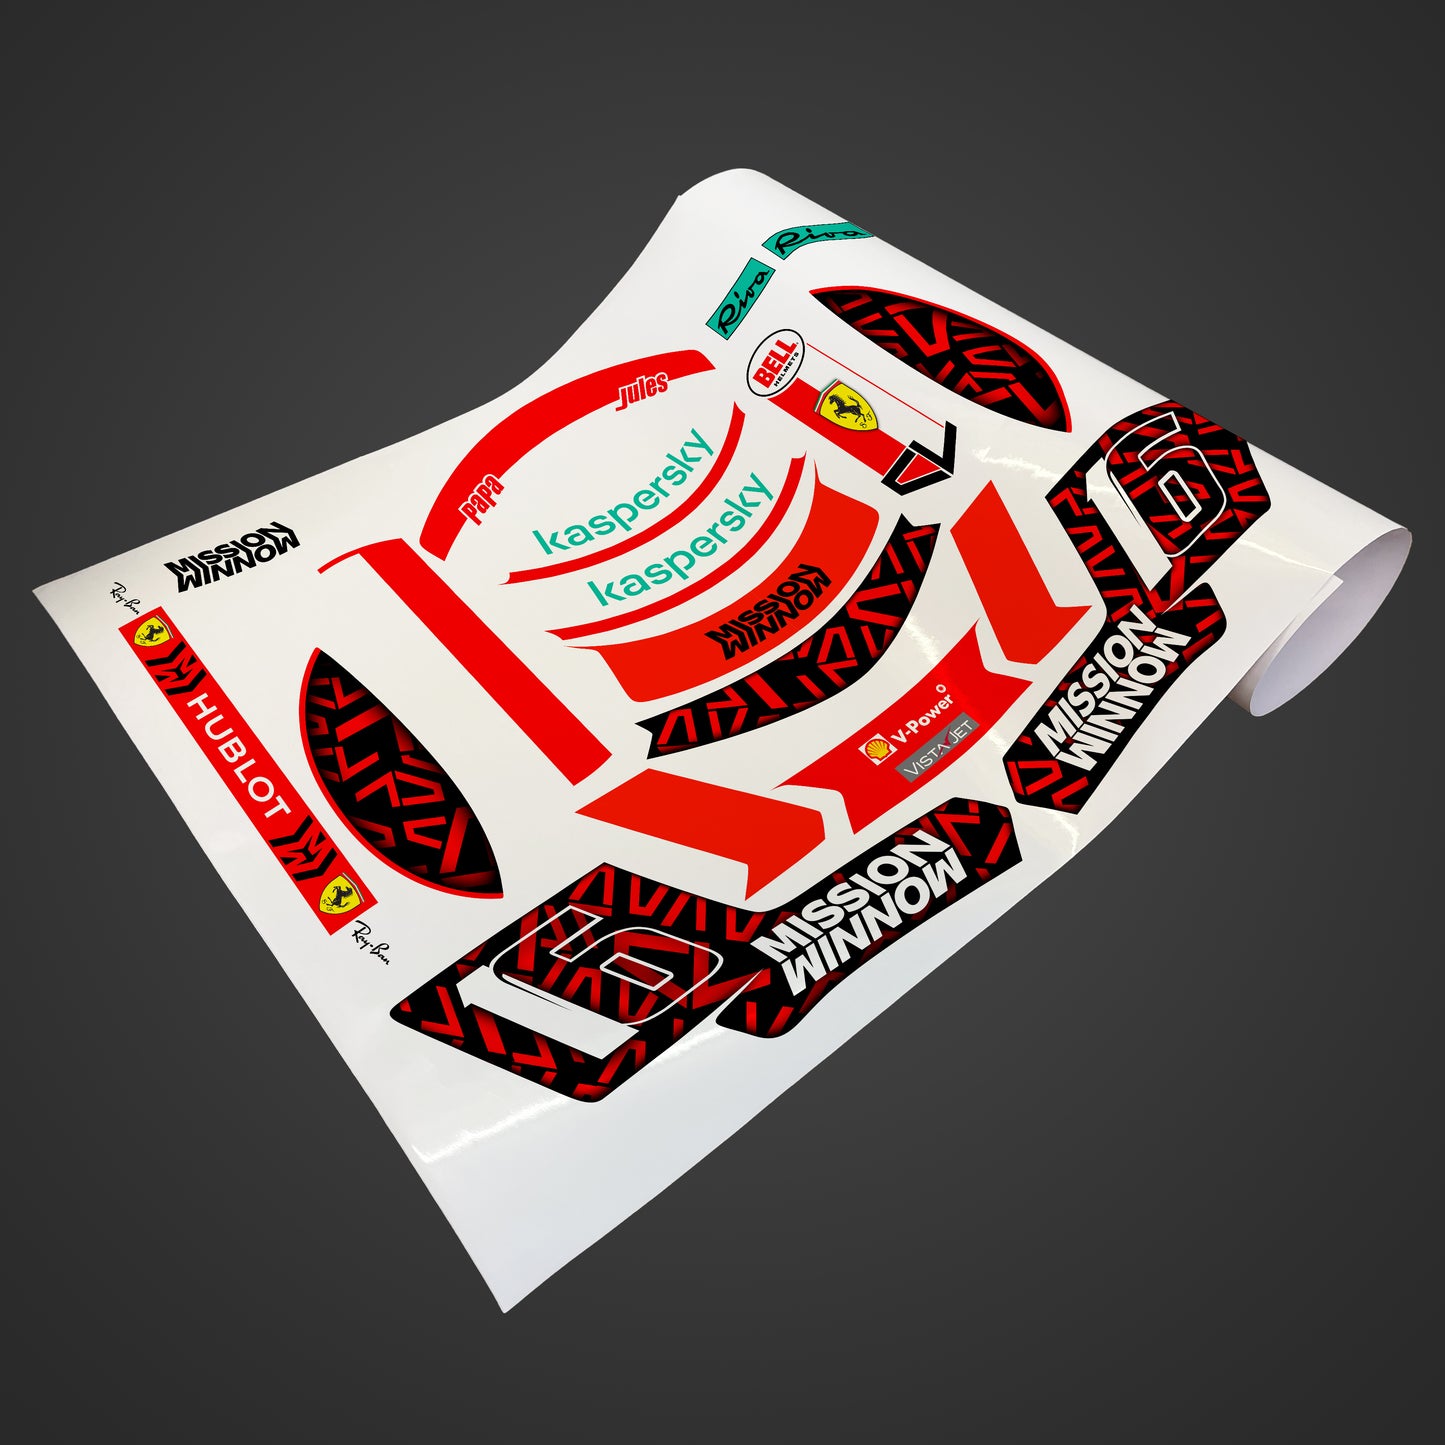
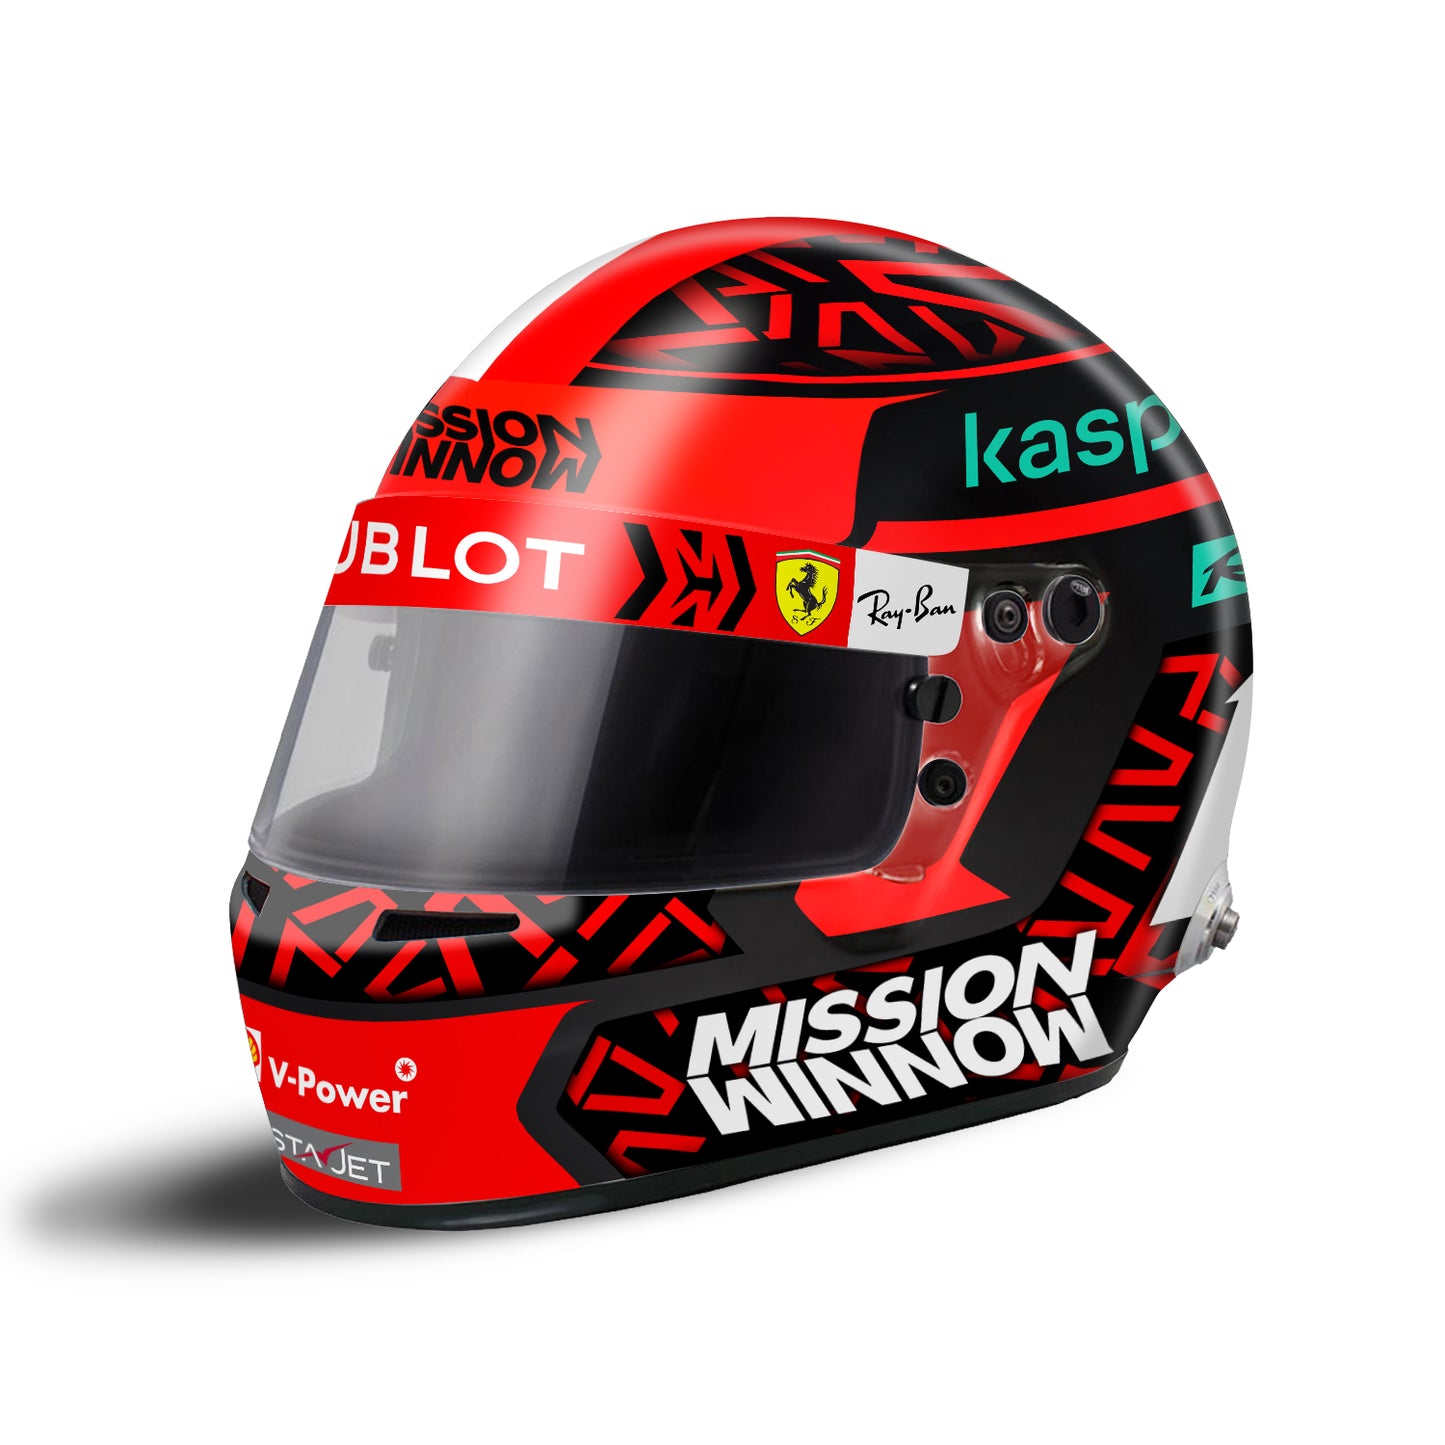
Charles Leclerc Helmet Replica Sticker Kit
Charles Leclerc Helmet Replica Sticker Kit
Couldn't load pickup availability
Description :
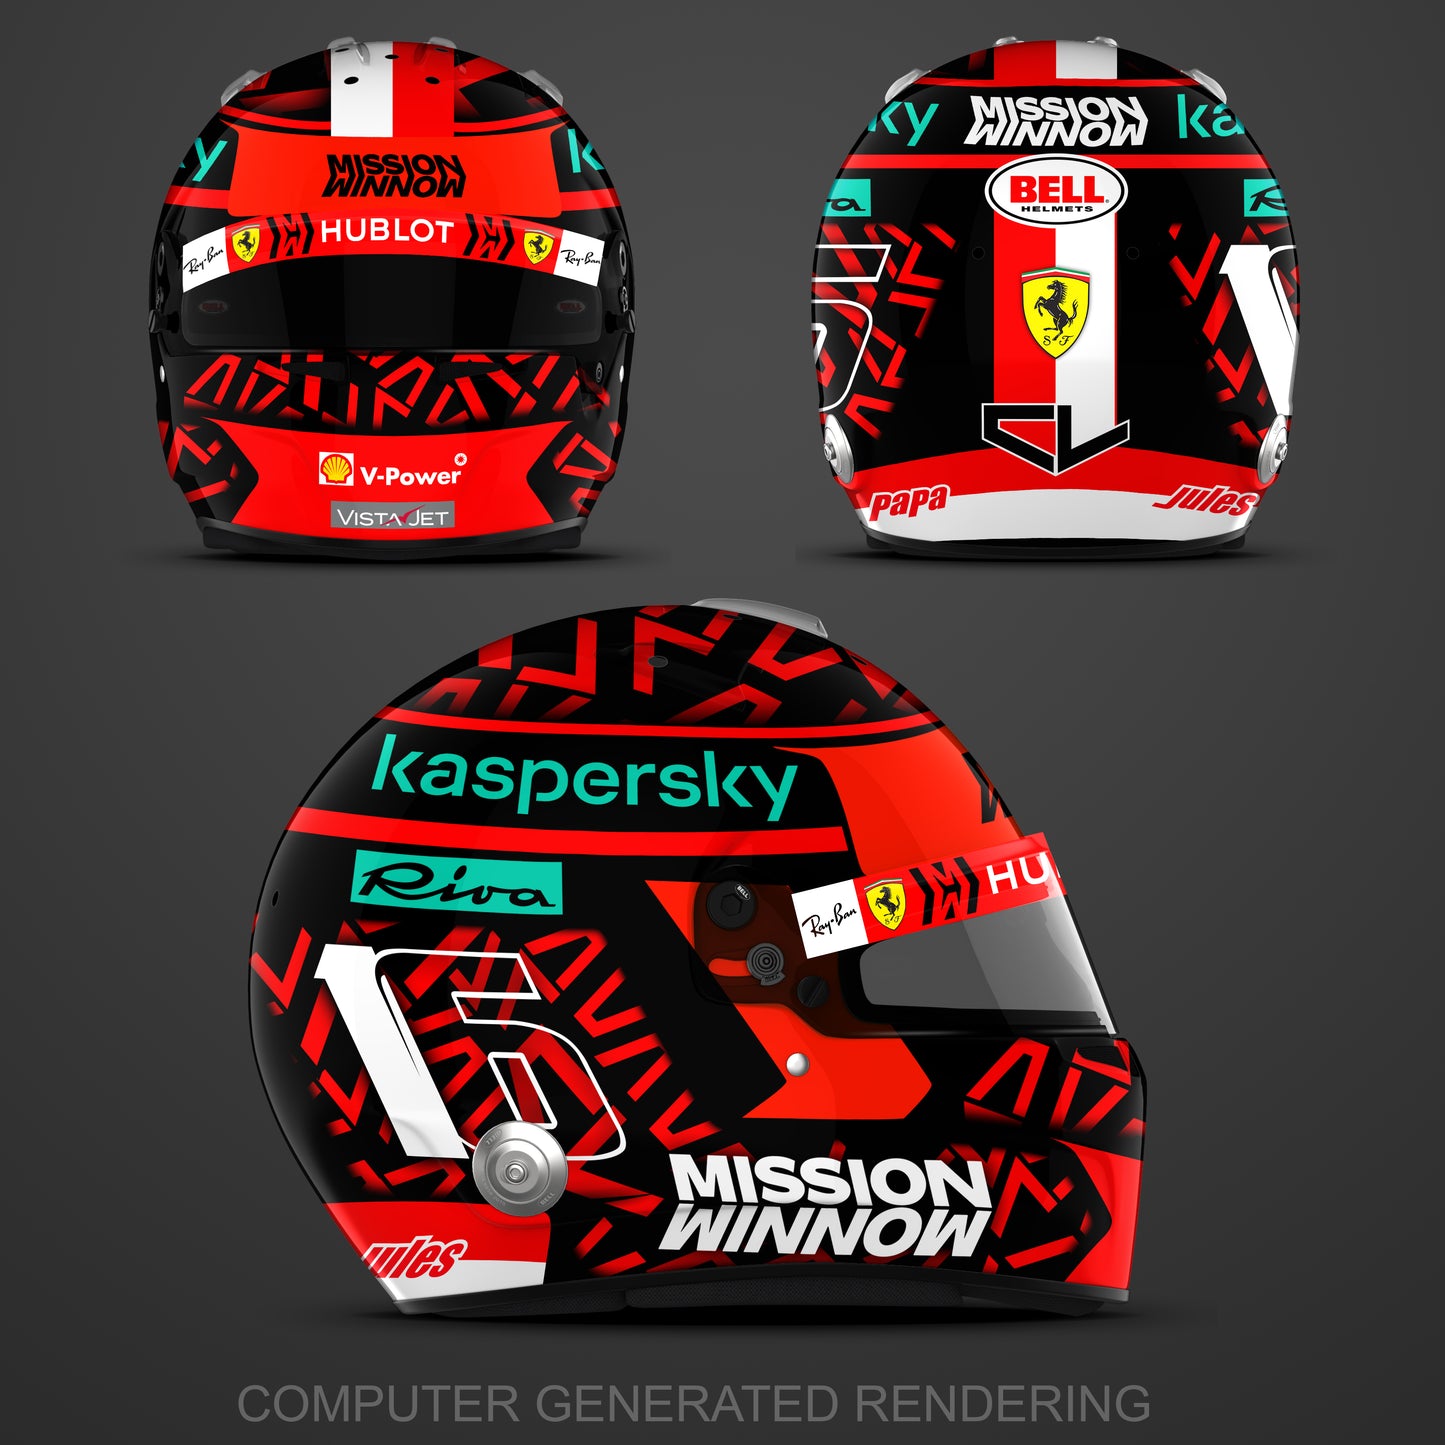
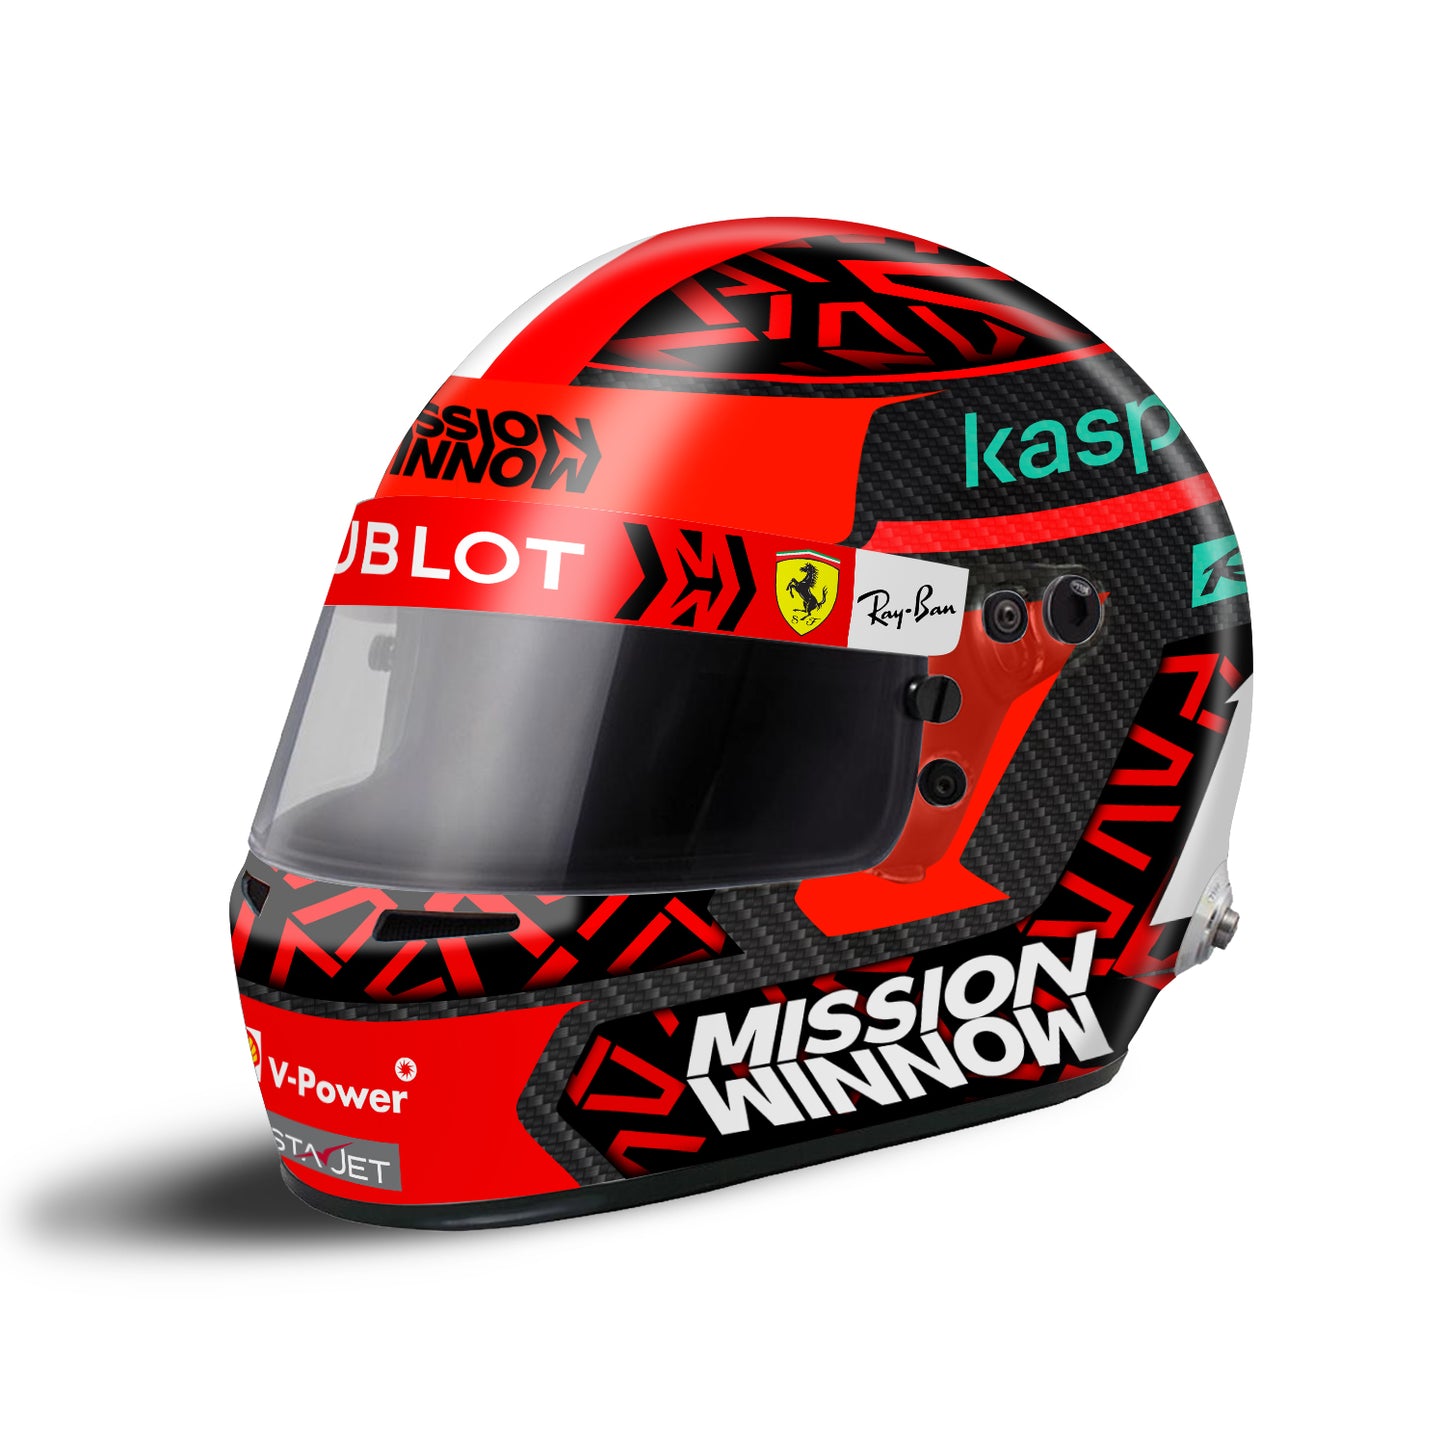
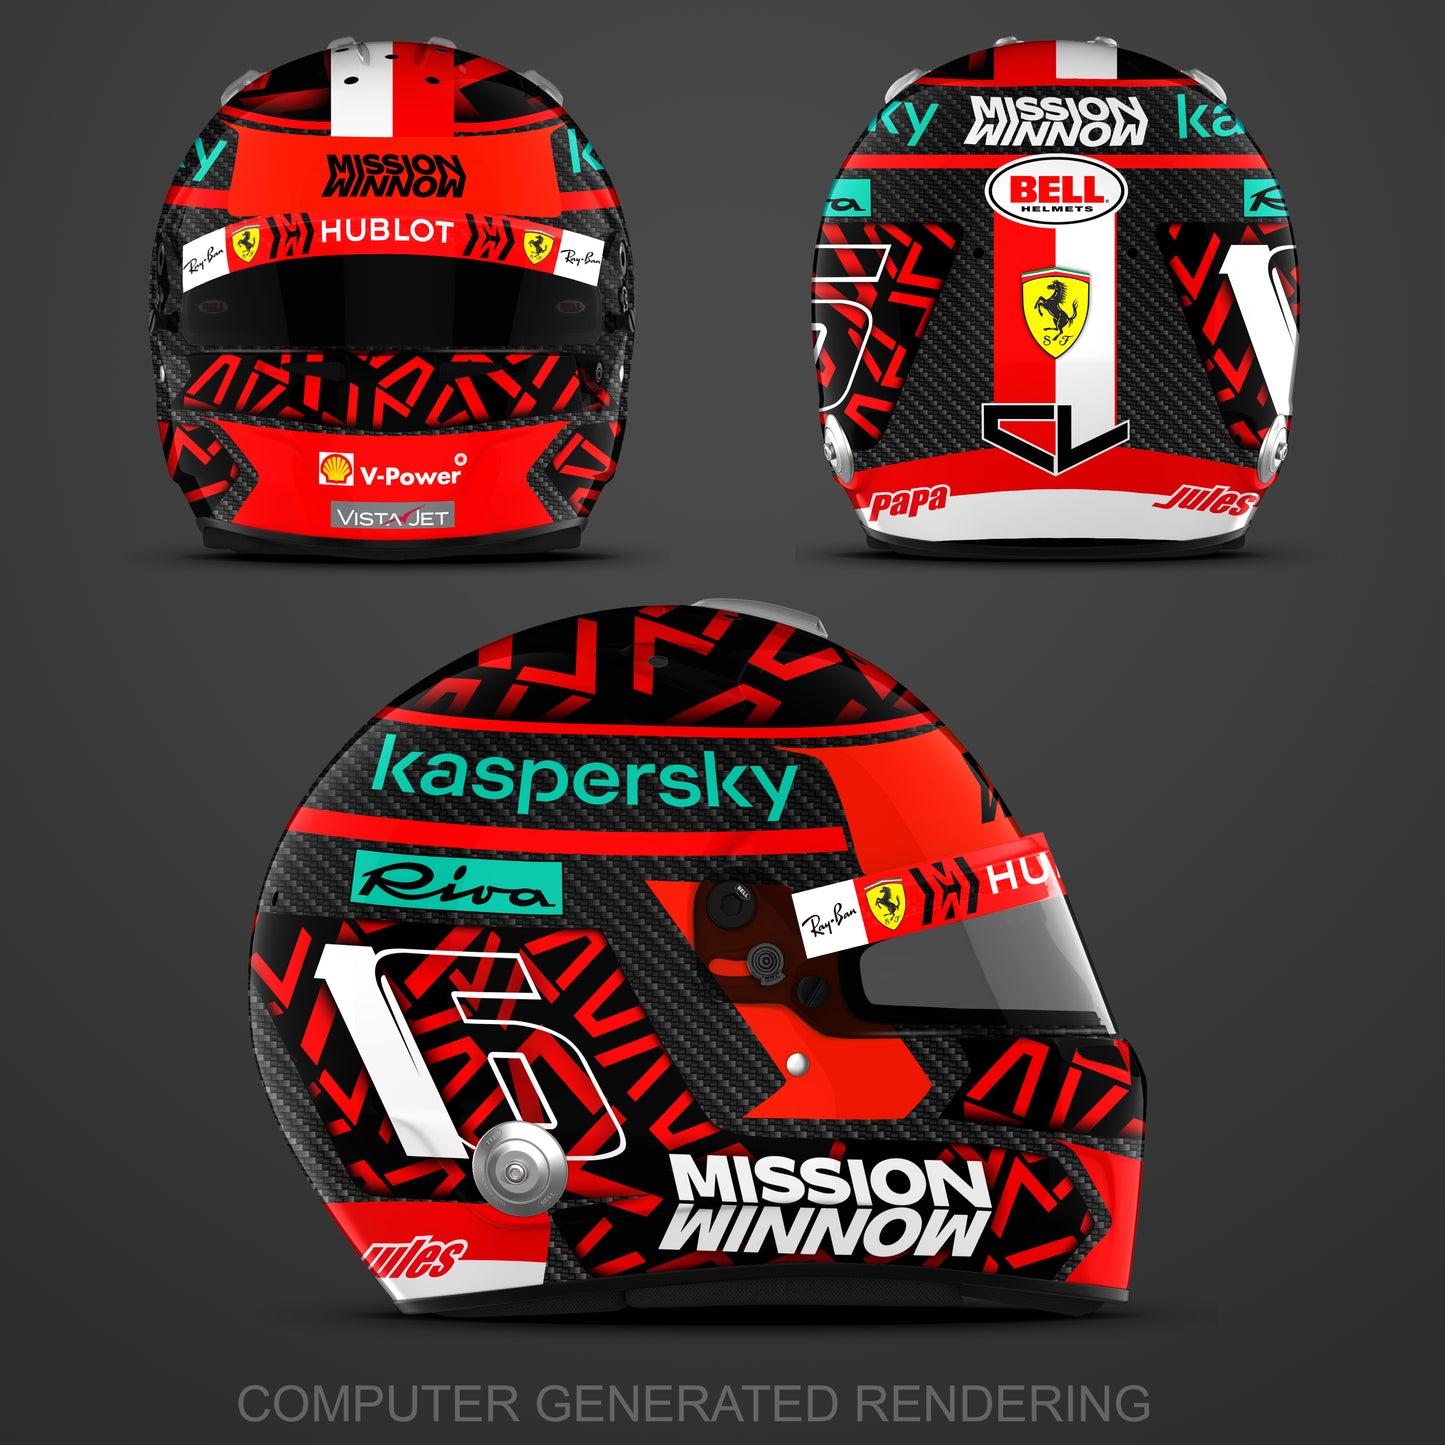
Made to fit most car/karting helmets on the market (tested on a Bell GT5 and OMP GP-R)
This is a design inspired by Charles Leclerc's 2020 helmet
Share
Graphics Installation
BEFORE INSTALLATION:
Firstly, you will need to prepare the surfaces to allow your stickers to adhere properly. Remove any old graphics/stickers from the surfaces, and ensure they are as clean as possible. You will need to remove the visor, Hans clips and any other removable part from the helmet.
Applying heat to old graphics/stickers can soften the adhesive and make the removal process easier. All surfaces, especially brand new helmets (which can come out of the factory with a wax coat), need to be wiped down & cleaned using an appropriate solvent before new graphics are applied. We recommend something alike Isotropy Alcohol, Methylated Spirits, Brake Cleaner, or a Wax & Grease Remover.
Wipe the helmet down with the solvent thoroughly, and allow them to air dry before graphics installation.
INSTALLING GRAPHICS:
Take your time when installing your new graphics, as rushing the process will increase the likelihood of issues or mistakes.
There are a few different graphic installation methods, which are commonly used, and all are okay if they reach your desired outcome. There are also many third party tutorial videos Online, which you can seek out for extra guidance as desired.
We recommend against using water or soap on the graphics to ease application, as this is not good for the adhesive, and will likely decrease the durability and life of your new kit. As all our graphics come in one sheet, you will first need to cut each section with scissors and then lay each piece onto the helmet in the appropriate position, and have a look at how it all lines up, before you actually apply it. We will also give a piece of transfer tape for the logos with letters that need to stay aligned perfectly. Use this transfer tape after the excess sticker is removed around and inside de letters or logo.
We recommend using masking/painters tape to hold them in place temporarily.
You can then cut off a small section of the backing paper first, and stick it down, whilst ensuring the full decal is still aligned on the plastic as desired. Press it down firmly on the exposed section, and then proceed to remove more of the backing paper, and repeat the process across the graphic. It is good practice to cut the transfer paper (if you used it) where it needs to crease. The most important is to apply the vinyle without creases, the transfer paper will later be removed and its aspect is not important.
If the vinyl is not perfectly applied at this point but mostly flat then you can start removing the transfer tape.
Heat is your best friend when applying our graphics - It is vital to have a hair dryer or heat gun on hand when installing your graphics. The material we use becomes extremely soft and pliable when warmed up, which can make installing around sharp edges or curves, and stretching the graphic into place, a huge amount easier. Ensure you do not overheat the graphic, as it may then become too soft, and harder to work with - Take it a little at a time to find your desired heat level.
Once your whole kit has been applied and installed as desired, it is important to then go over the whole kit, warming it up with your hair dryer/heat gun, and pressing down on any lifting edges.
This will ‘activate’ the glue, and help it adhere strongly to its new surface. You need to repeat this once or twice a day for the few days following install, as you may find some corners/edges re-lift as they cool down.
This will ‘train’ the graphic, so it then stays down after a few repetitions.
Once the sticker is applied and the glue had time to adhere, you can remove any excess with a sharp blade before installing the visor and the removable parts back on the helmet.


